Just had to share this great little project that my daughter and grand kids worked on last week. The idea came from
That Artist Woman.
The best part of this project is that it's so versatile. All three of my grand kids made one (ages 9, 7, and 3) and all three turned out darling. Age doesn't seem to matter with this project.
Step 1: They used white card stock and masking tape to fill the entire
paper. Strips could be any length. They tried to tear the tape jagged to
add more dimension.
Step 2: Each child painted the entire paper orange and let it dry.
They used acrylic paint (didn't know how washable tempera paint
would work on the tape).
Step 3: Each child had a small separate piece of paper with a small dot
of green acrylic paint. They used the "fork" technique to create fun
funky lines in the stem.
Step 4: The kids drew their own pumpkins on the BACKSIDE of the paper
and cut them out. They did the same thing with the stem and glued it to
the pumpkin.
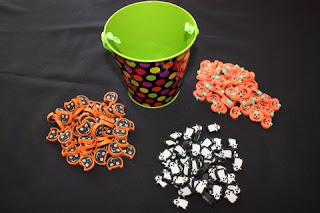
Step 5: They used a circle paper punch for the whites of the eyes, black
buttons as well as cut out a mouth and teeth to embellish the pumpkin.
Love how they all turned out quite unique.
(Original source is That Artist Woman)
Since we're doing pumpkins this week I created these fun "Pumpkin Line Up" math sheets. The file contains pumpkin line up (and witch line up) for counting by 1's, 2's, 5's, 10's and 100's. Great for differentiated learning opportunities in the classroom. Click
here to down load the entire file (10 pages).
 |
| Pumpkin Line Up by 1's |
 |
Pumpkin Line Up by 5"s
(Graphics by Scrappin Doodles) |
Have a great rest of the week.
Granny (Cindy)


